Our first night we didn’t make it very far, we stayed in the parking lot at Wally world in Kennewick Washington 145 miles from our house.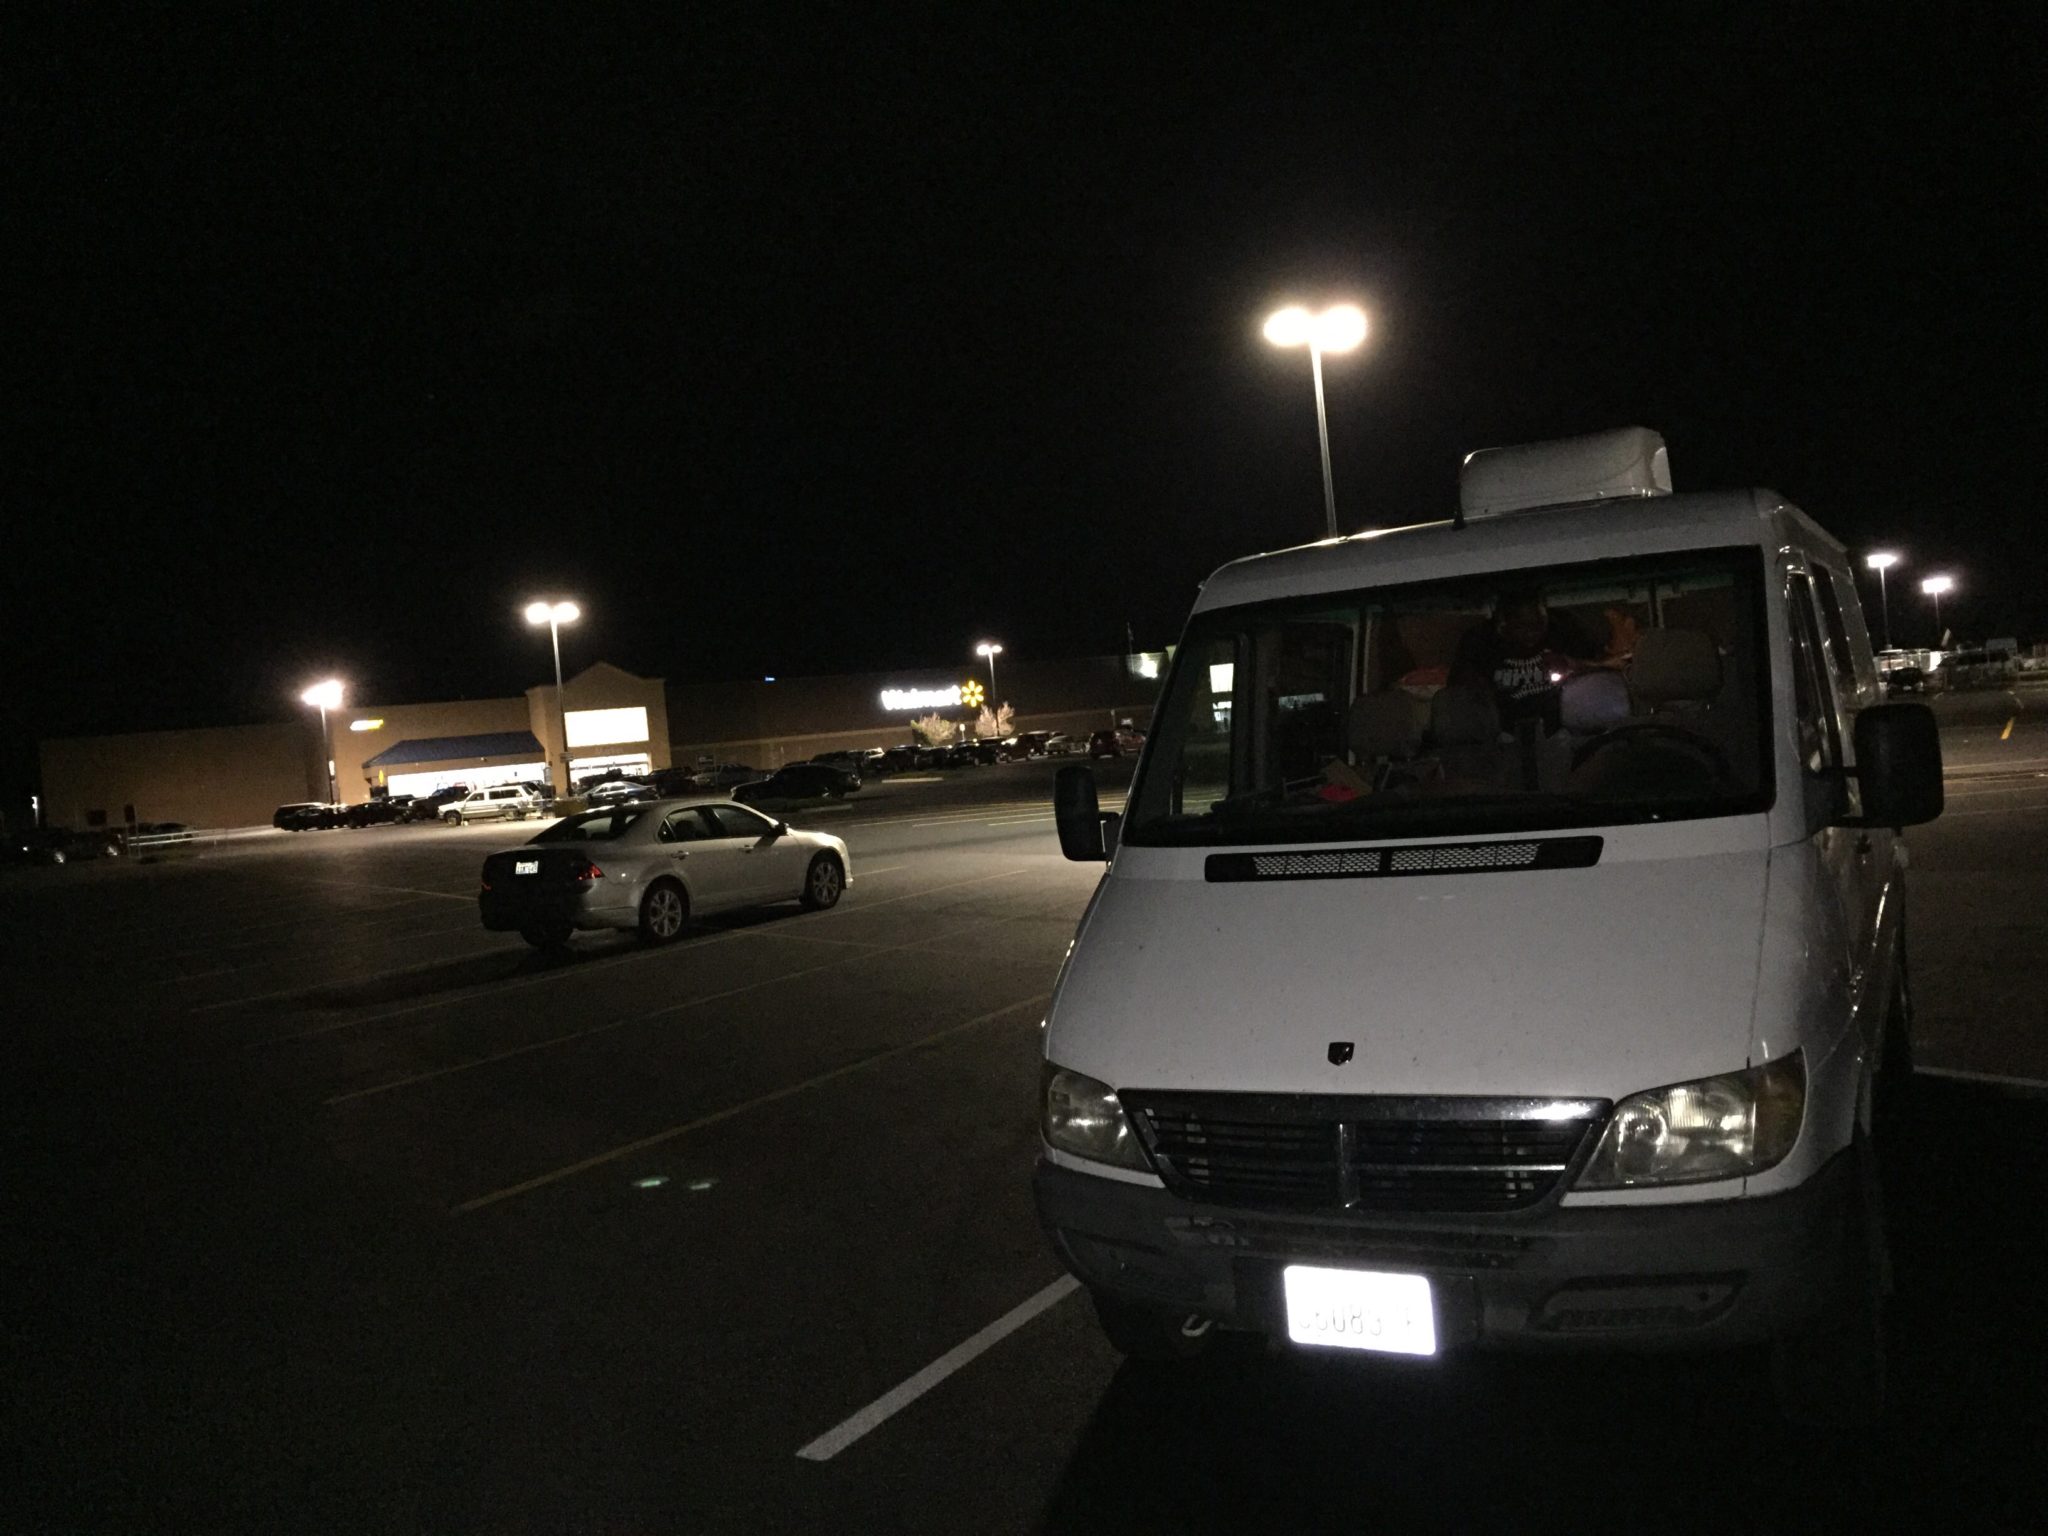
We are finally on the road
We finally are on the road after one week of working 12 to 14 hour days I finally have the van done (almost). The air conditioner is installed, it is insulated with wall and ceiling panels, beds are sleepable, the ac/dc power center and shore plug are installed. We are also headed out into a beautiful sunset.

Beds
I built a platform bed and put the other bed I’ve built on the floor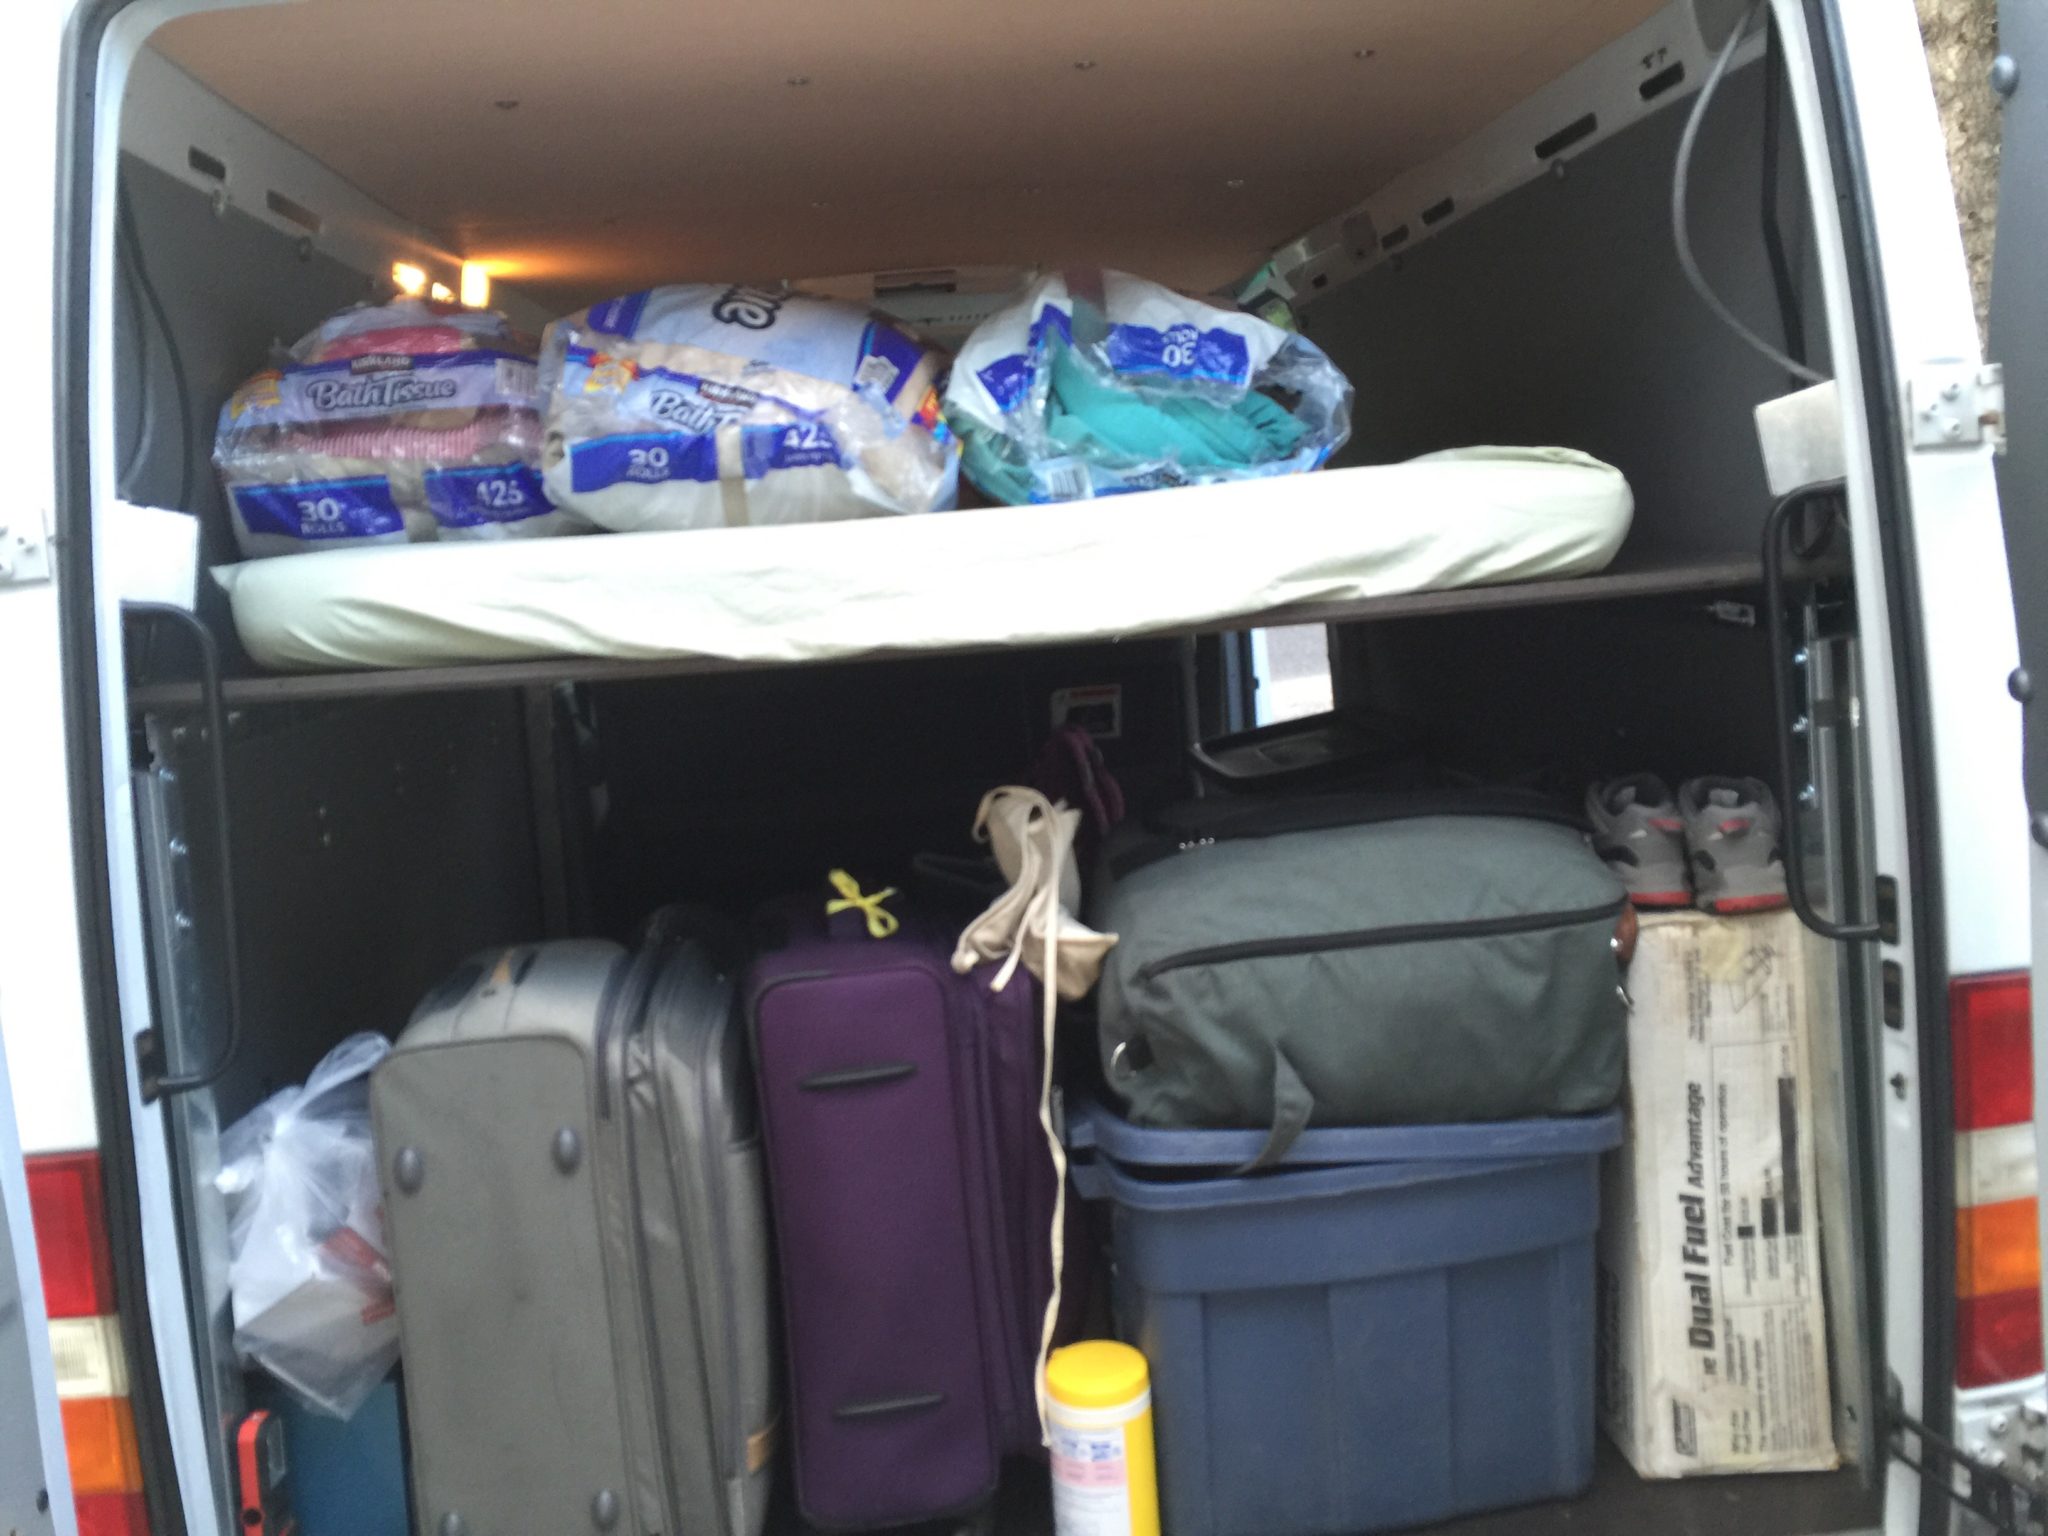
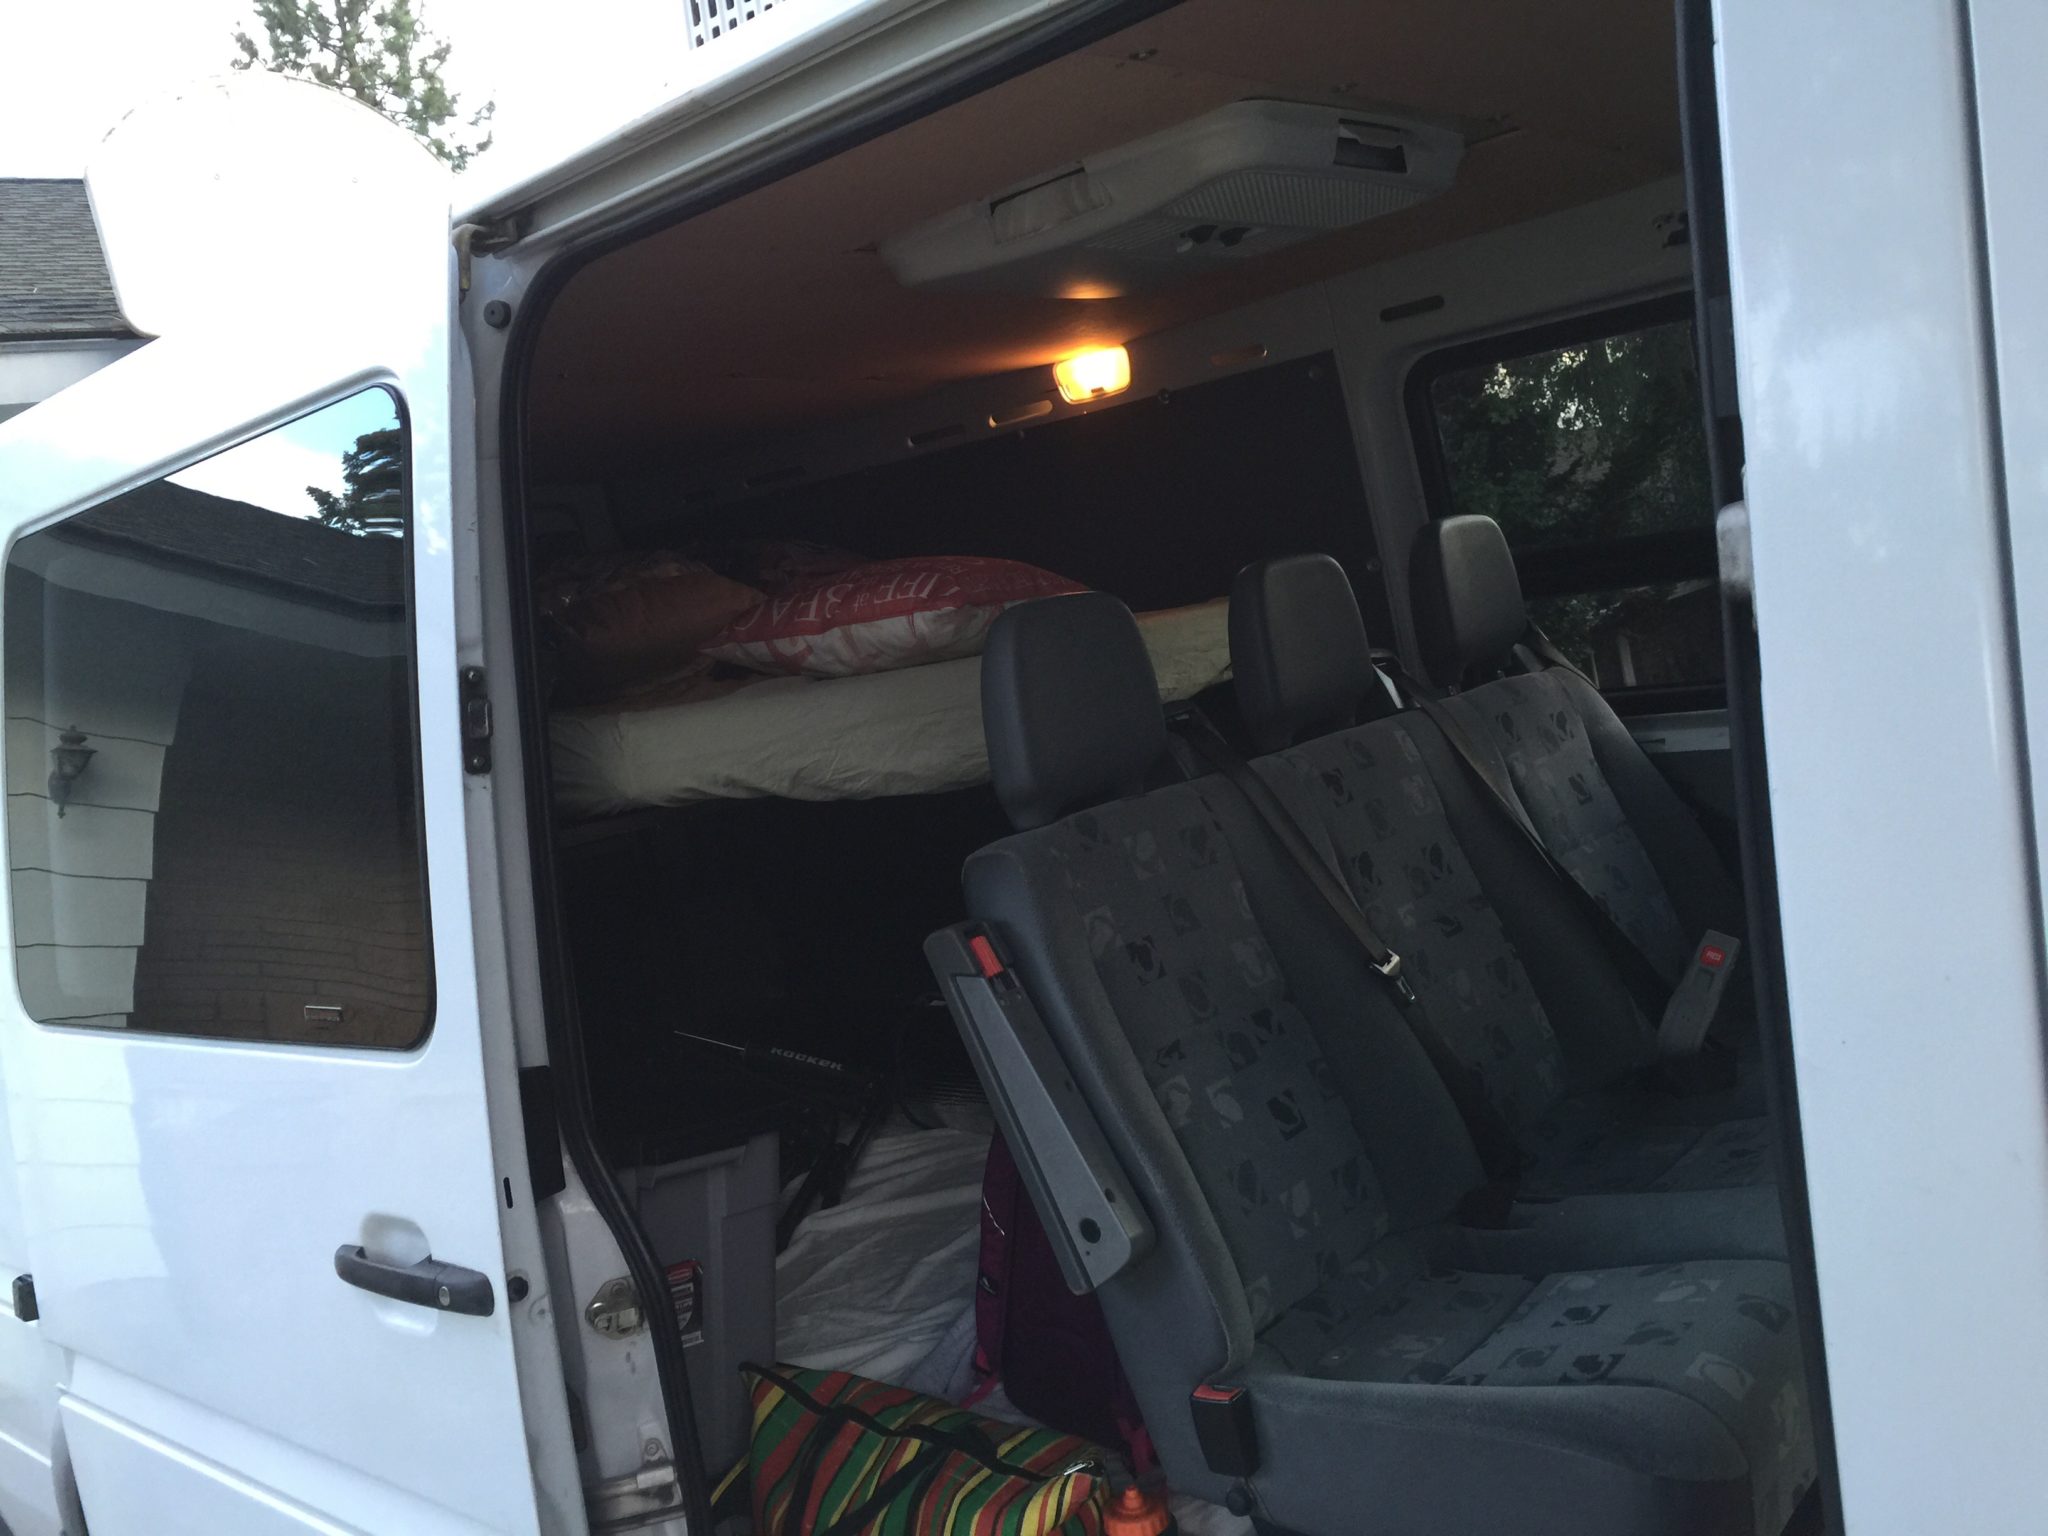
A/C Support Bracket
Here is the small support bracket that took me a long time to design and build. The first version wasn’t satisfactory and I started over and built this one. It seems to be working well as the A/C unit isn’t sinking into the roof of the van.
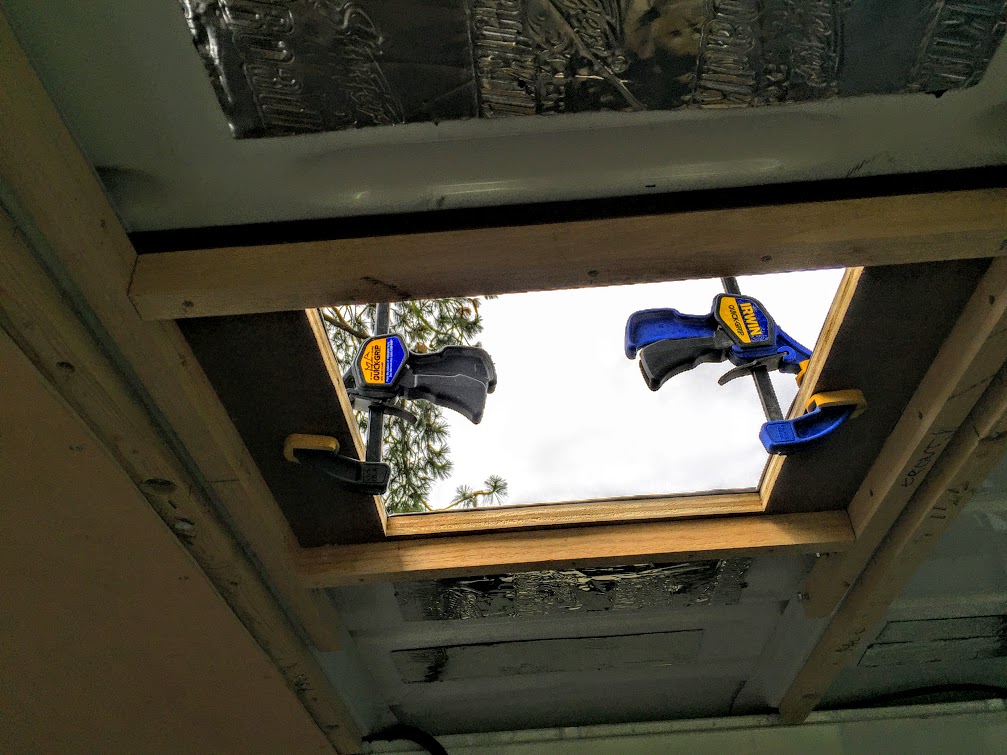
Savina and Tressanna Working on A/C
Savina and Tressanna working on the A/C ducting.
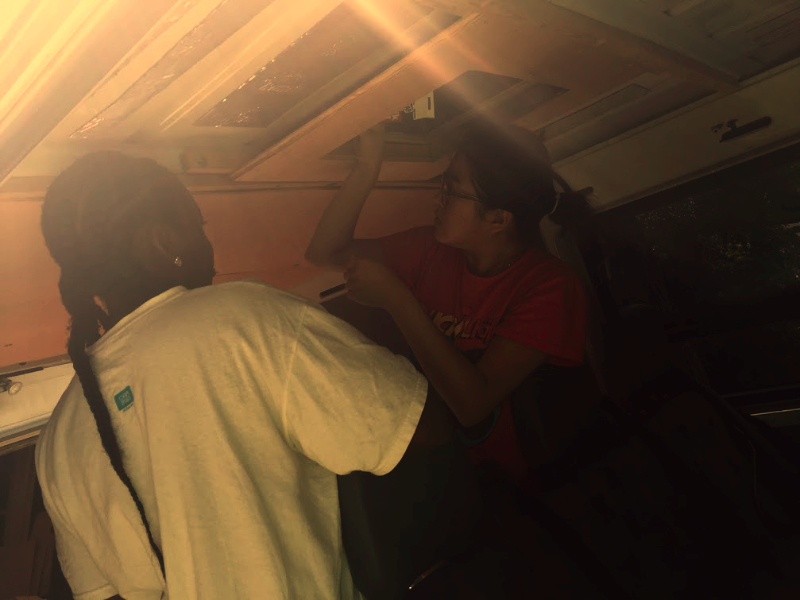
A/C Connected and Control Panel Installed
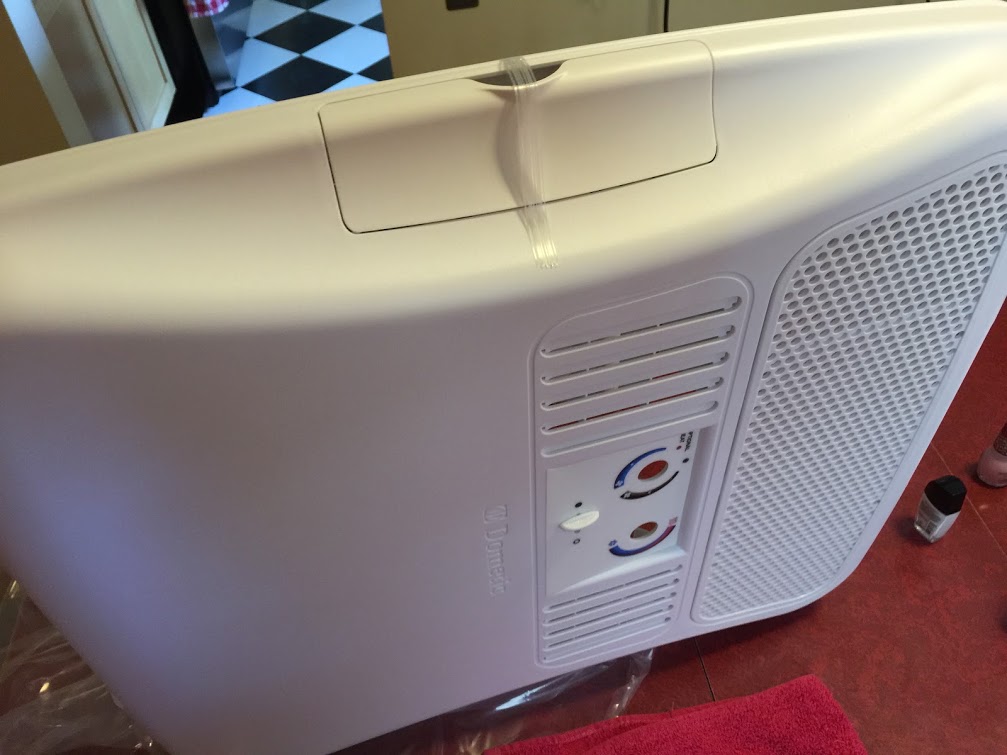
I finally got it done. The A/C is all hooked up and running. I installed the control panel shown below and connected the electrical. Savina shows the A/C working.
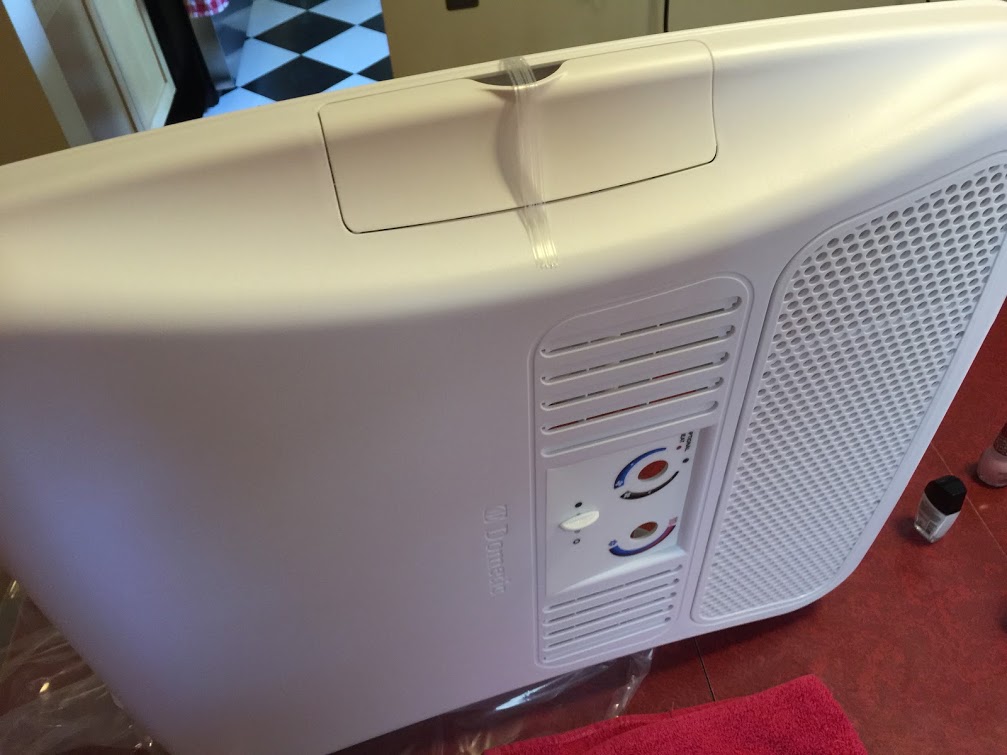
A/C Mounted on Rooftop
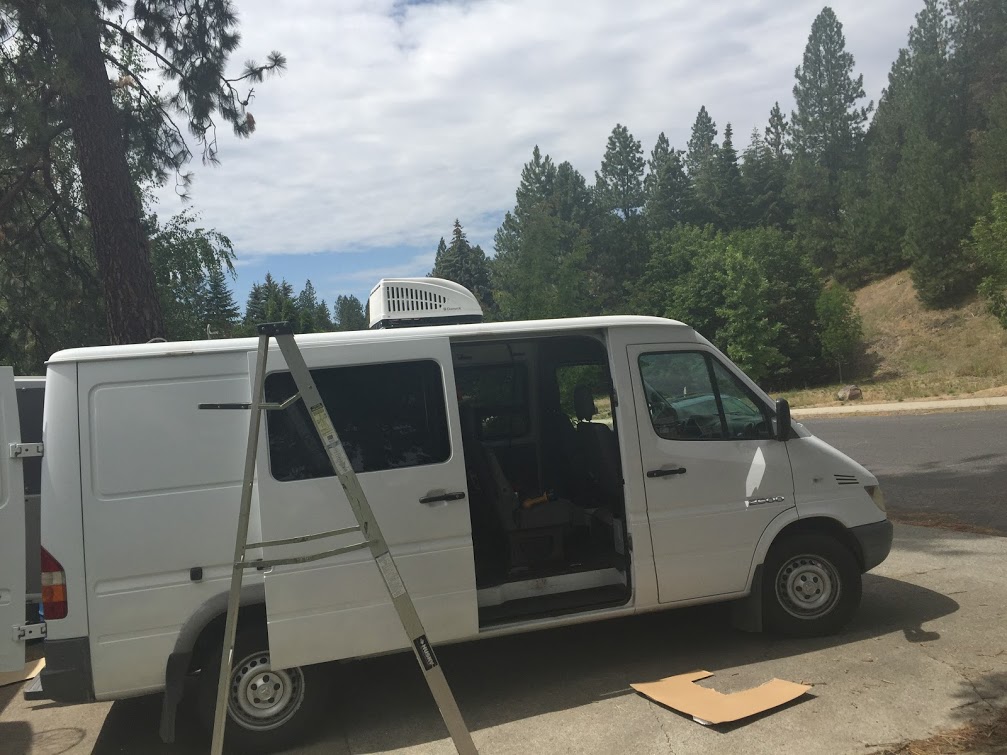
With the help of Henry we were able to carry the A/C unit up to the roof and place it over the opening. Now I need to connect the electrical connections, the inner metal template, and the plastic fascia with the controls.
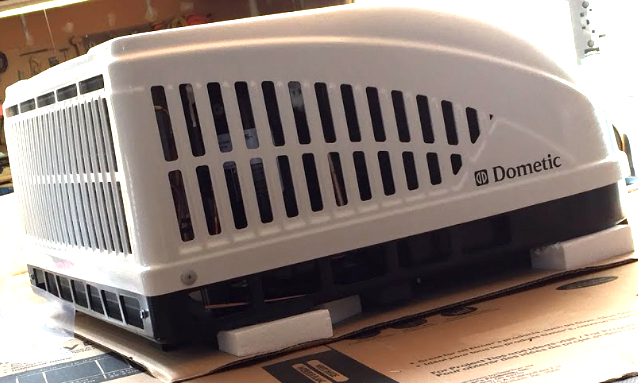
Dometic Brisk Air II
I purchased the A/C unit from Chucks RV in Mead, WA. It is a 13,500 btu unit. It has a smaller footprint and is a little lighter than the Coleman unit they had at the same price.
Roof Hole for A/C
I cut the 14 1/4″ x 14 1/4″ hole in the roof of the van. It is square and ready to accept 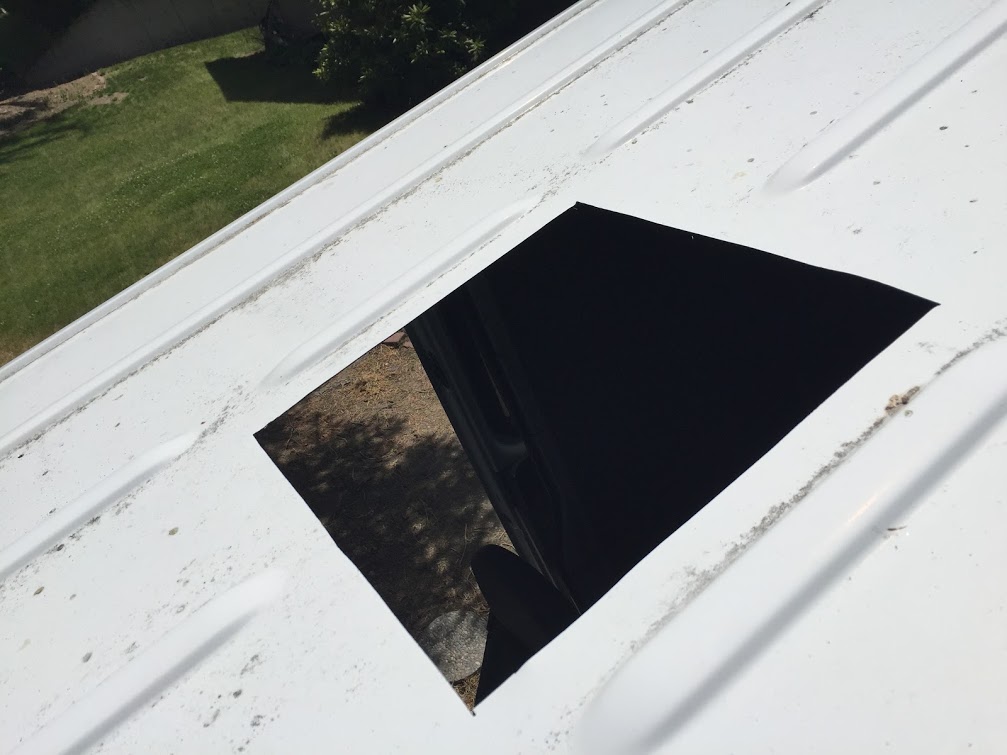 the A/C unit. Before I can install it I have to build a support box so the 90 lbs. A/C unit doesn’t make a depression in the roof. I made a support system similar to one I saw on the Sprinter forum but it didn’t work well and I had to start over. There is an inherent problem with putting the A/C on the Sprinter as the roof and ceiling aren’t flat and most applications for the A/C put it on a flat roof. I’ll still have to fiddle with the support system tomorrow so it will accept the interior control unit and it won’t crack when i screw it into the ceiling panels.
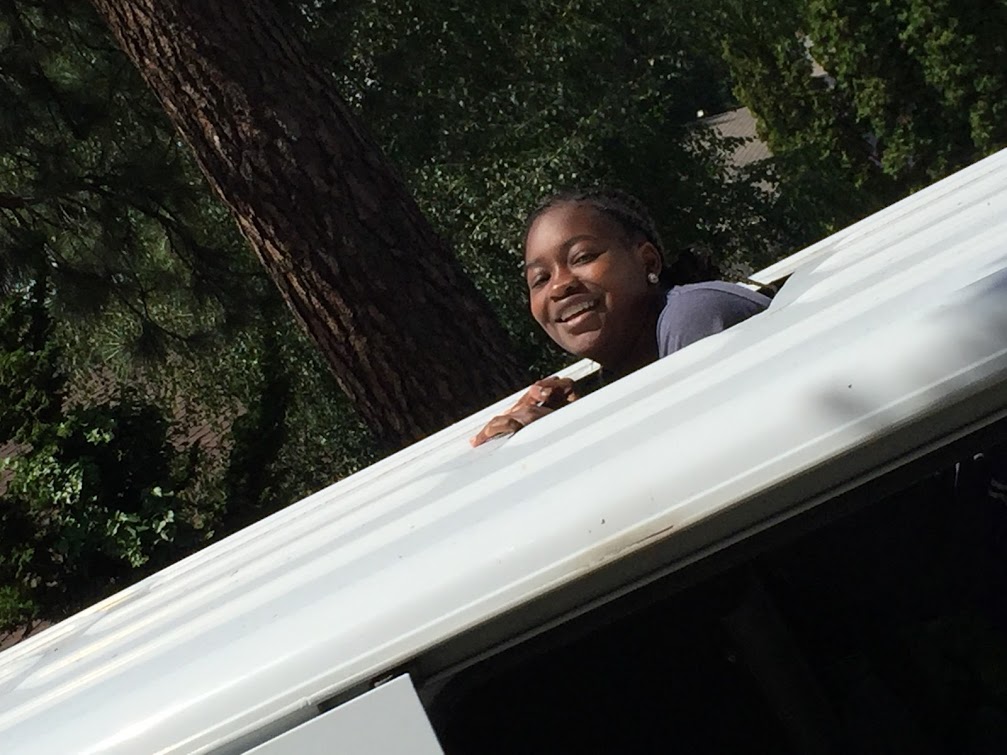
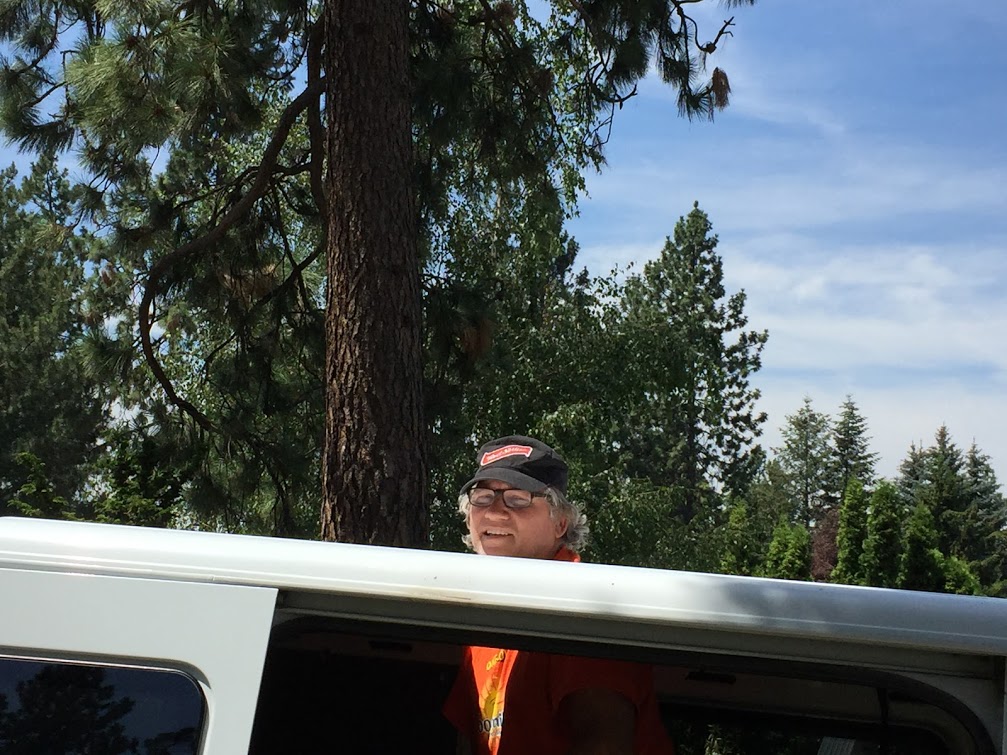
Tress and Savina both posed for pics with their heads sticking out of the roof.

Power Center
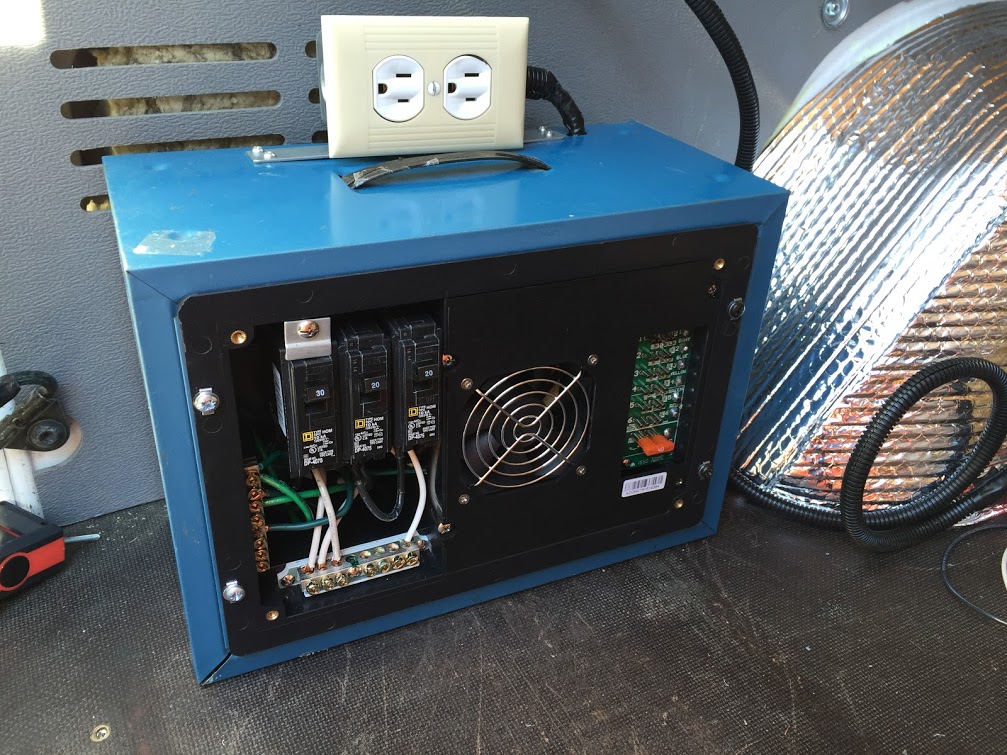
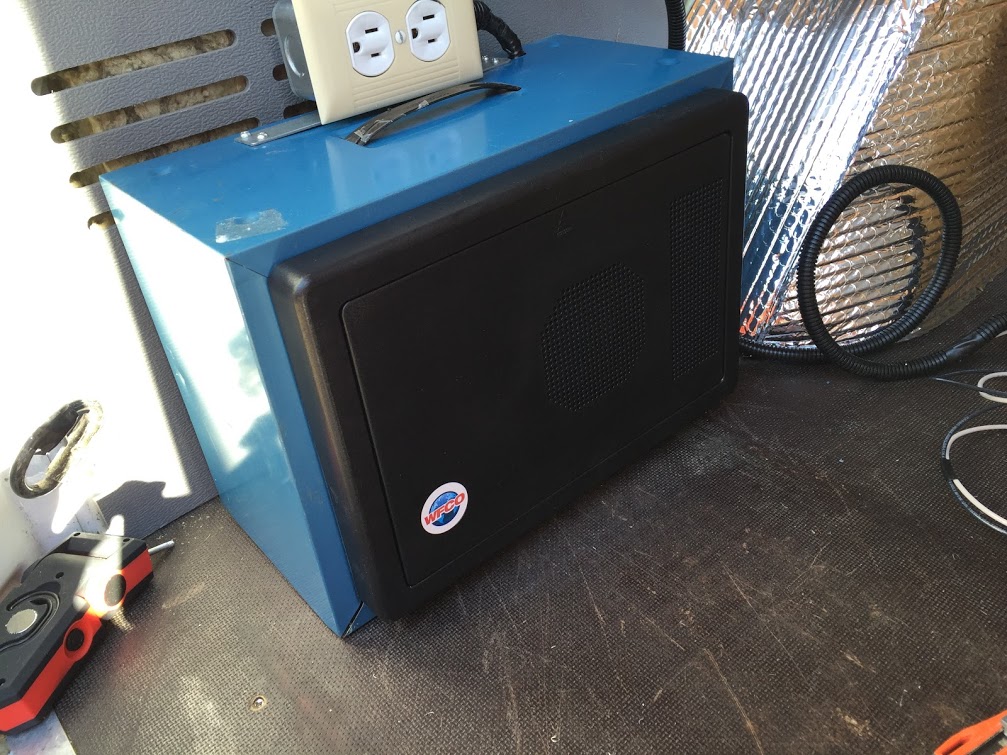
I finally got the WFCO 7535 power center installed. I put it in a metal box and then mounted a 120 volt plug on top. I pulled some wire for 12 volt lights but I won’t hook them up now, we need to get on the road. This unit provides 120 volt for A/C when plugged into shore power and when I get a battery it uses 3 charging modes to keep it topped up. The blue box actually looks a little better in the pictures, I bought it for 5 bucks at the Northwest Christian School Thrift store. It was a box with 24 pullout plastic drawers that is used for storing screws, nuts, bolts, etc.